1. Start with the Right Panels
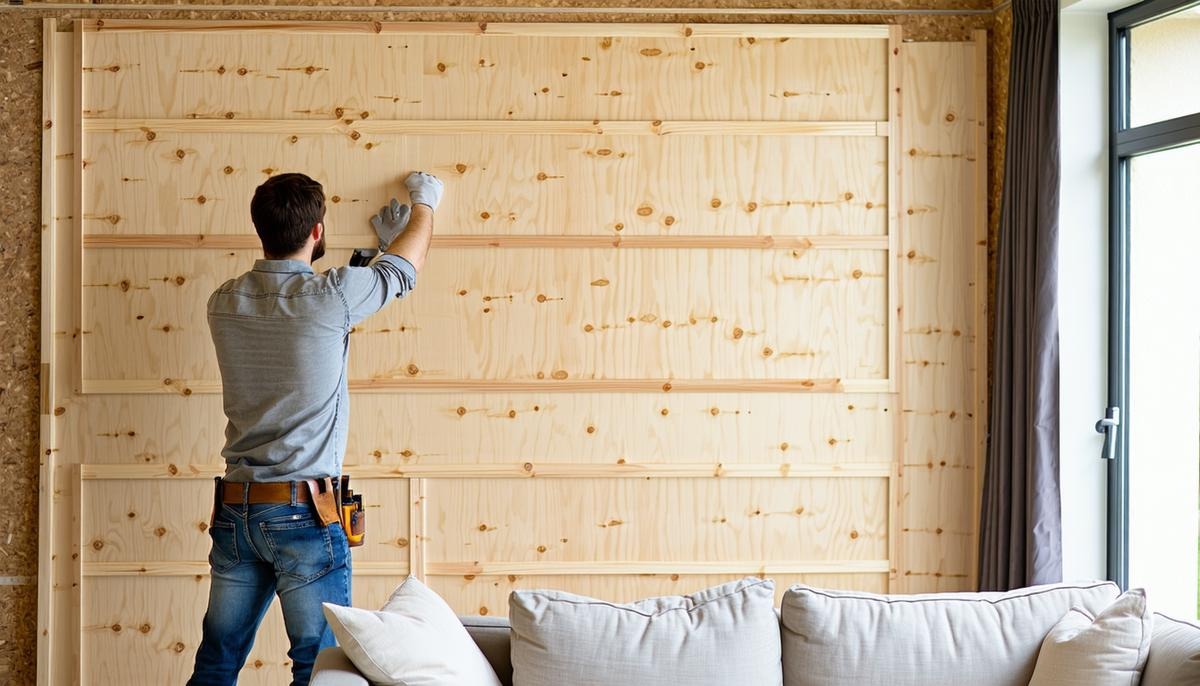
If you’ve been dreaming of adding texture and warmth to your walls, decorative wall panels are a fantastic solution—and yes, you can install them yourself. Many homeowners are now choosing decorative solid wood panels for a rich, natural feel that adds timeless elegance to any room.
2. Measure Twice, Cut Once
The first step is accurate measuring. You’ll want to measure the height and width of your wall, taking note of any doors, outlets, or switches. This will help you calculate how many panels you’ll need and where to make cuts.
3. Choose Your Tools
For installation, you’ll need a tape measure, level, pencil, saw (a miter or circular saw works best), adhesive (like grab glue or construction adhesive), and optionally, a nail gun for extra hold. A stud finder is also helpful for anchoring heavier panels.
4. Prepare Your Surface
Make sure the wall is clean, dry, and smooth. Patch holes and sand down bumps. If you’re installing wood panels over drywall, a coat of primer may help adhesive grip better.
5. Dry Fit First
Lay out your panels on the floor or lean them against the wall in the order you plan to install them. This helps you visualize the final look and ensures that patterns or grain lines match up nicely.
6. Apply Adhesive and Mount
Apply adhesive to the back of the panel in a zigzag pattern, then firmly press it to the wall. Hold it in place for a few seconds to allow the glue to grip. If needed, reinforce with finishing nails—especially on top and bottom edges.
7. Check Level and Spacing
As you go, use a level to keep panels straight. Use spacers if your design includes gaps between panels. Consistency is key, especially with vertical installations.
8. Deal with Outlets and Switches
Use a jigsaw to cut out sections for electrical outlets or switches. Remember to turn off power at the breaker before working near any wiring.
9. Fill Gaps and Finish Edges
Use caulk or wood filler to fill any small gaps or seams. For a polished look, consider adding trim or molding at the edges or corners. Sand and touch up with paint or stain as needed.
10. Sealing and Maintenance
If your panels are unfinished, apply a clear sealant, stain, or paint to protect them. Sealing also enhances the wood’s color and texture. For decorative solid wood panels, natural oils can bring out beautiful grain patterns.
11. Where to Install Panels
Decorative panels work well in living rooms, bedrooms, hallways, or even kitchens. Use them behind headboards, along entryways, or as full accent walls. They’re especially effective in making bland spaces feel custom and refined.
12. Common Mistakes to Avoid
Don’t skip wall prep—it’s essential. Avoid cheap adhesives that won’t hold over time. And always dry fit first to avoid last-minute surprises.
13. It’s Easier Than You Think
Many people are surprised by how quickly and easily they can install wall panels themselves. With a weekend, a few tools, and some patience, you can dramatically change a room’s look and feel.
14. Add Your Personal Touch
After installation, style the space with complementary furniture, art, or lighting. Let your personality come through—wall panels are a canvas for the rest of your interior design.
15. Final Thoughts
Installing decorative wall panels is a satisfying project that makes a big impact. With a little effort, you can transform any room into a cozy, character-filled space. Decorative solid wood panels are particularly rewarding—they offer timeless style, lasting quality, and that sense of “you made this” pride.